Official footage
See the verified material
These official previews are included as visual context. Press play to load the privacy-enhanced player.
Read the gameplay loop as a sequence of decisions
The verified Onimusha: Way of the Sword gameplay mechanics make the most sense as a loop rather than a list of isolated moves. An enemy presents an attack, the player reads its cue, Musashi chooses a defensive or positional response, and the outcome may create pressure or an opening. Offense then converts that opportunity, while defeated Genma can leave souls that support Oni power. The exchange resets and demands another observation.
This structure explains why button memorization alone is insufficient. A powerful technique used against the wrong cue or at the wrong moment can fail, while a modest response chosen from a clear observation can preserve control. The demo provides a limited place to learn the loop, but the cited pre-release sources do not establish a complete enemy catalog, final balance, or a single sequence that solves every fight.
Use the live control prompts for exact inputs. PS5, Xbox Series X|S, and Windows PC use different input contexts, and players may change layouts. A source-aware guide should teach purpose and decision-making without manufacturing universal button labels.
Parry creates a counter opportunity
Official hands-on material identifies Parry as one of Musashi's defensive tools and connects a successful response with an opportunity to answer. The beginner lesson is to recognize one attack cue and learn what a successful Parry looks and feels like. Testing against a consistent cue removes some uncertainty from timing practice.
Do not assume that every incoming action can be handled identically or that every success guarantees a long attack window. After the defensive response, read the opponent's state before committing. A concise follow-up can confirm the opening without relying on an unverified combo. If the enemy remains active, returning to observation is a valid decision.
The source set does not publish a frame window, invulnerability duration, universal follow-up, or list of attacks that cannot be parried. Those details require measured gameplay evidence. Until then, a good guide explains the verified role and gives a repeatable practice method rather than false precision.
Deflect applies stamina pressure
Deflect is distinguished by its connection to enemy stamina. Watch the stamina state when testing the technique, because visual impact alone may not communicate the strategic result. Repeated successful pressure can change the exchange and lead toward an opening that offense can exploit.
Practice Deflect after you can identify a basic attack rhythm. Choose one readable motion, follow the current prompt, and compare the stamina state before and after a success. Change only the timing when diagnosing a miss. This is coaching derived from the official mechanic, not a claim that every enemy requires the same number of Deflects or loses stamina at an identical rate.
An opening produced through pressure should be confirmed, not assumed. Issen Break is a named technique associated with exploiting an opening, but the checked sources do not provide a universal threshold or exact input sequence for every opponent. The game's interface and live state remain the final authority during play.
Issen rewards precise timing
Issen is the high-risk, high-value counter in the verified combat vocabulary. Its identity depends on timing, which makes attack recognition essential. Attempting it against a motion you already understand produces clearer feedback than reacting blindly to every unfamiliar enemy. A failed attempt can then be classified as early, late, or based on the wrong cue.
A strong result does not turn one observed timing into universal frame data. Different attacks and enemies may produce different practical demands, and the pre-release sources do not publish exhaustive windows or damage values. This guide therefore avoids percentage bonuses, tier rankings, and claims that Issen is always the optimal response.
Issen Break belongs in the broader opening-and-punish relationship. Learn the game's displayed conditions and compare its purpose with a standard Issen rather than collapsing the names. If the distinction remains unclear, replay the demo with one technique as the focus instead of switching randomly among every counter.
The Oni Gauntlet turns souls into options
Musashi's Oni Gauntlet absorbs souls from defeated Genma. Official descriptions connect those souls to supernatural power, and demo material names Oni Armament as one combat expression of that power. This means the end of an enemy exchange can create a resource decision rather than simply marking the next target.
Absorb when the immediate situation allows you to read the action safely. Then observe the interface and use Oni Armament at a deliberate moment so its effect is understandable. The sources do not supply exact soul values, charge rates, damage multipliers, invulnerability properties, or a final upgrade tree. An honest guide cannot turn visual feedback into invented numbers.
Holding and spending are both decisions. A contained demo run can compare them, but it cannot establish one mathematically best policy for the full game. The useful beginner outcome is awareness: notice the resource, understand the option it enables, and avoid losing control while chasing it.
Previewed abilities expand movement and pressure
Official pre-release coverage shows three abilities beyond the demo's basic defensive lesson. Repeated well-timed dodges can build the Reflex Dodge gauge and enable a Reflex Combo. Oni Strength supplies force that can break an enemy's defense and clear certain exploration barriers. Oni Agility provides explosive movement and lets Musashi traverse specific walls. These are announced full-game systems, not a promise that all three can be unlocked or practiced in the current demo.
The August preview adds a broader resource loop after the demo: Kyoto objectives, treasures, and absorbed souls support equipment upgrades and ability unlocks, while Oni Armaments expand the available tools. The Oni Bow is shown answering ranged pressure and interacting with environmental puzzles and traps. That preview establishes functions, but it does not publish a complete skill tree, acquisition order, upgrade cost table, or best build.
Treat these abilities as an expansion of the same decision-first combat language. Reflex rewards controlled evasions, Strength changes defenses and obstacles, and Agility changes movement routes. Their existence is useful preparation for play, yet exact timing, balance, and progression claims require reproducible evidence from the current release build.
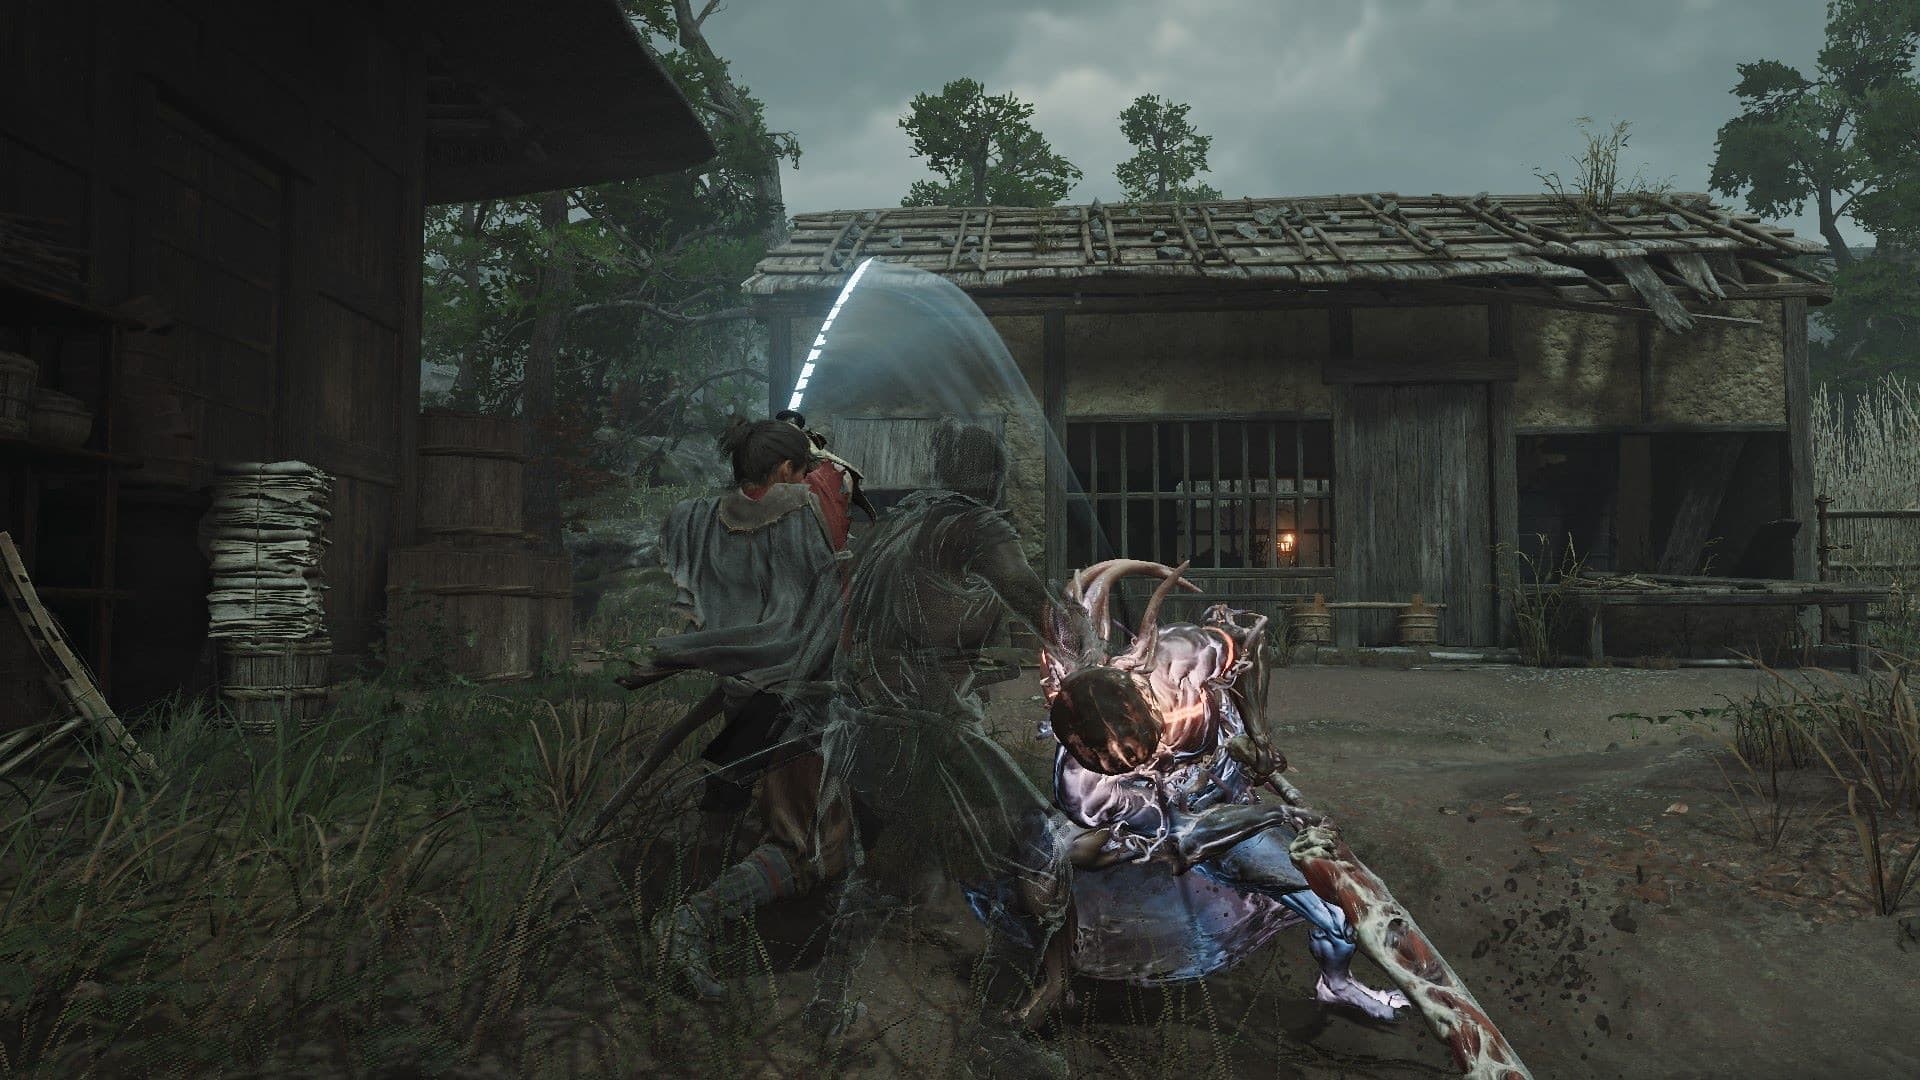
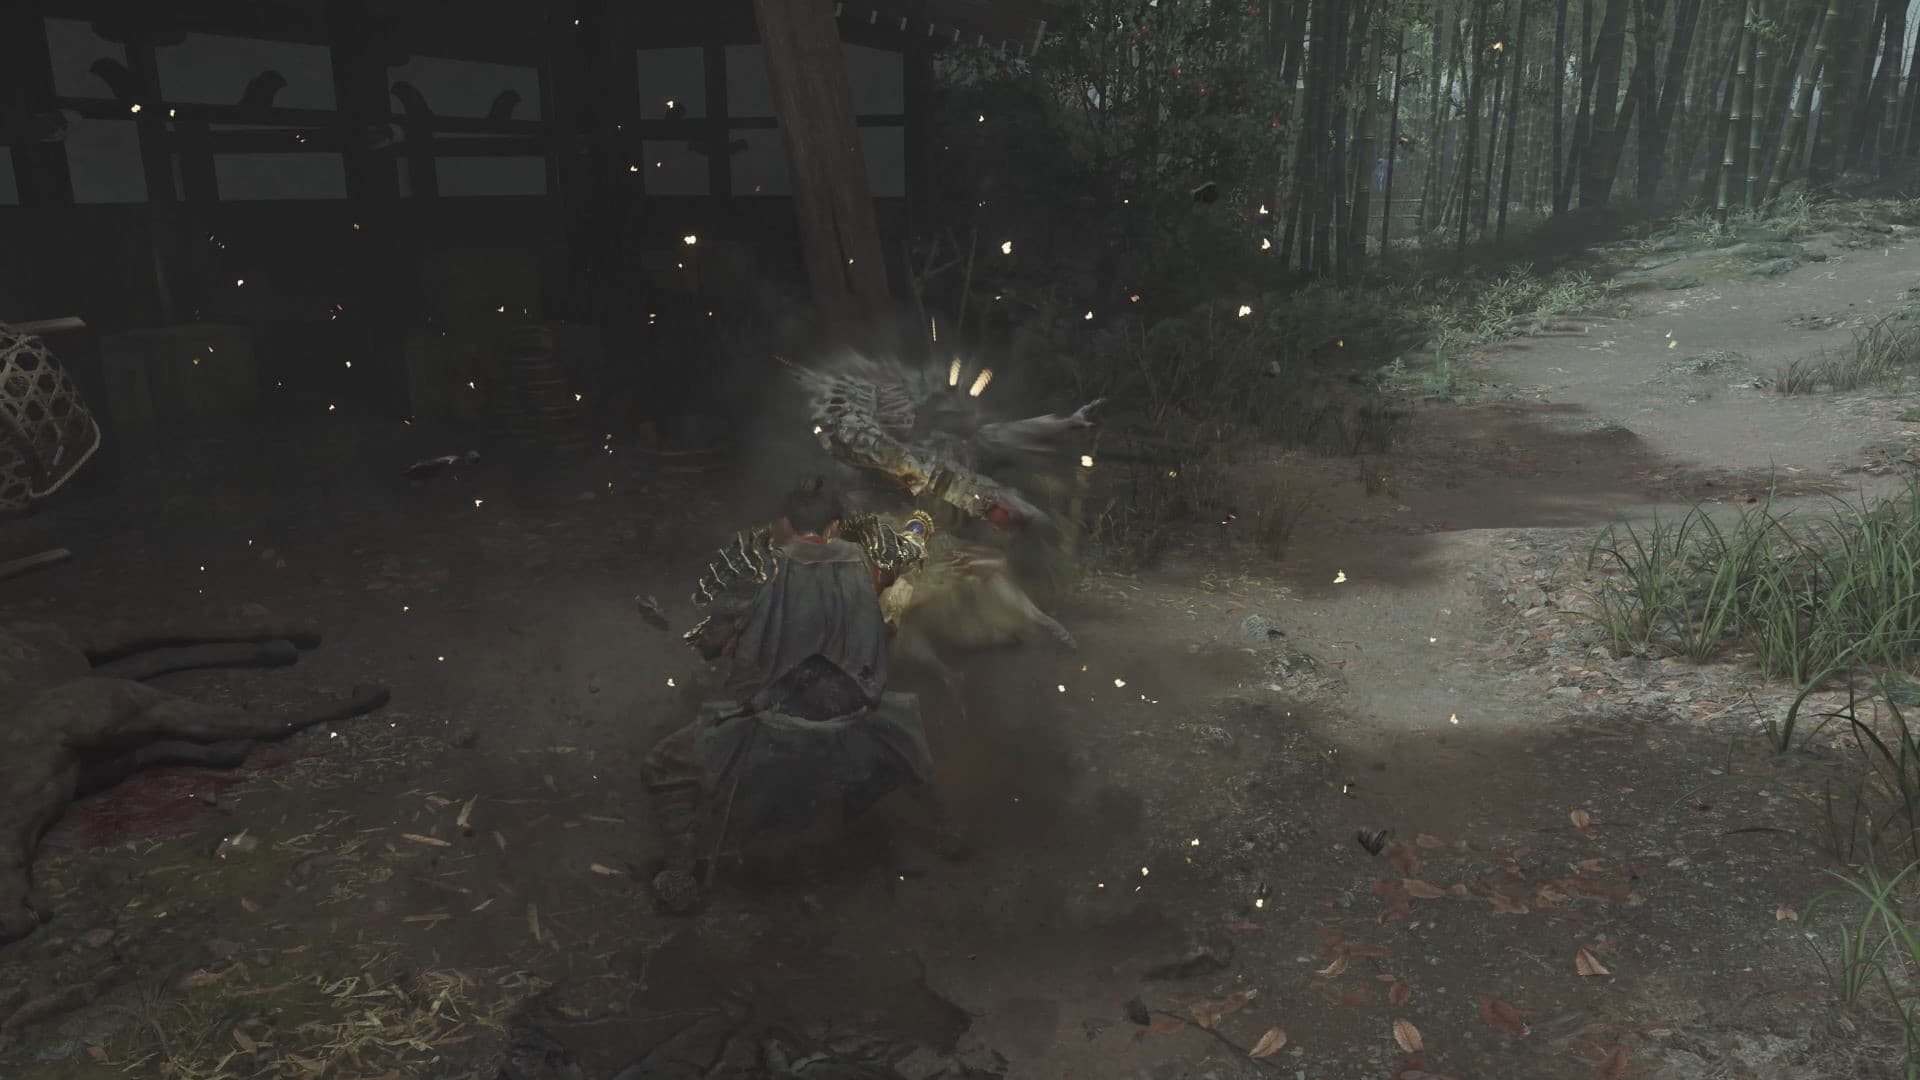
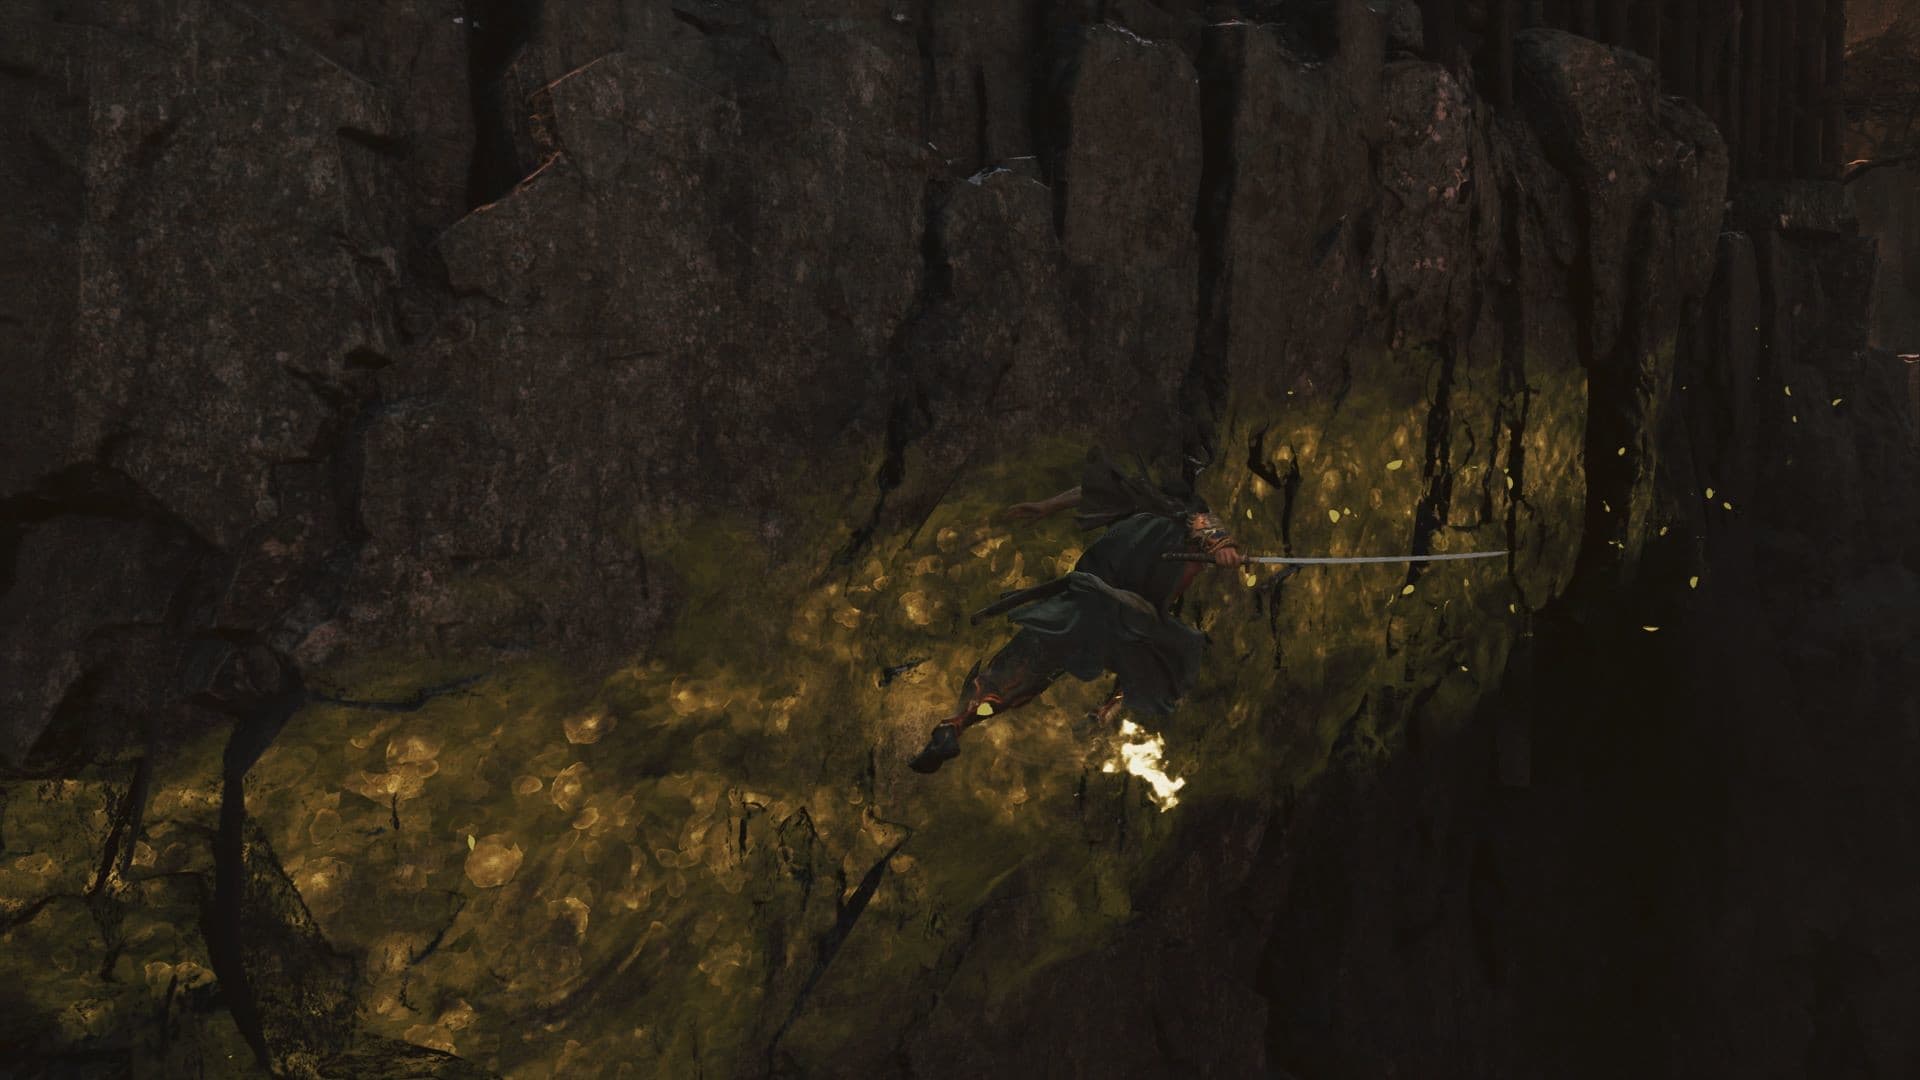
A practical demo training routine
Use one run for orientation. Read every mechanic prompt, identify the enemy stamina display, absorb souls when safe, and reach Sasaki Ganryu without demanding mastery. On a later run, select a single readable attack and test Parry until you can recognize success. Then repeat the observation with Deflect while monitoring stamina.
Reserve another short sequence for Issen. Name the cue before attempting the counter, and change only your timing when it fails. Practice Oni Armament separately at a moment where the resource and outcome are visible. These are structured learning suggestions, not official compulsory stages or a claim about the most efficient speedrun route.
At Ganryu, combine the process: observe, choose a defense, evaluate pressure or opening, answer when safe, and use the Oni resource intentionally. The sources confirm the encounter but not a move list, weakness table, or phase script. Finishing the demo is useful; being able to explain why an exchange succeeded is stronger preparation for the full game.
This page distinguishes verified facts from details that Capcom has not yet announced. Source checks are dated so launch information can be reviewed when official listings change.