Official footage
See the verified material
These official previews are included as visual context. Press play to load the privacy-enhanced player.
What the Ganryu fight is testing
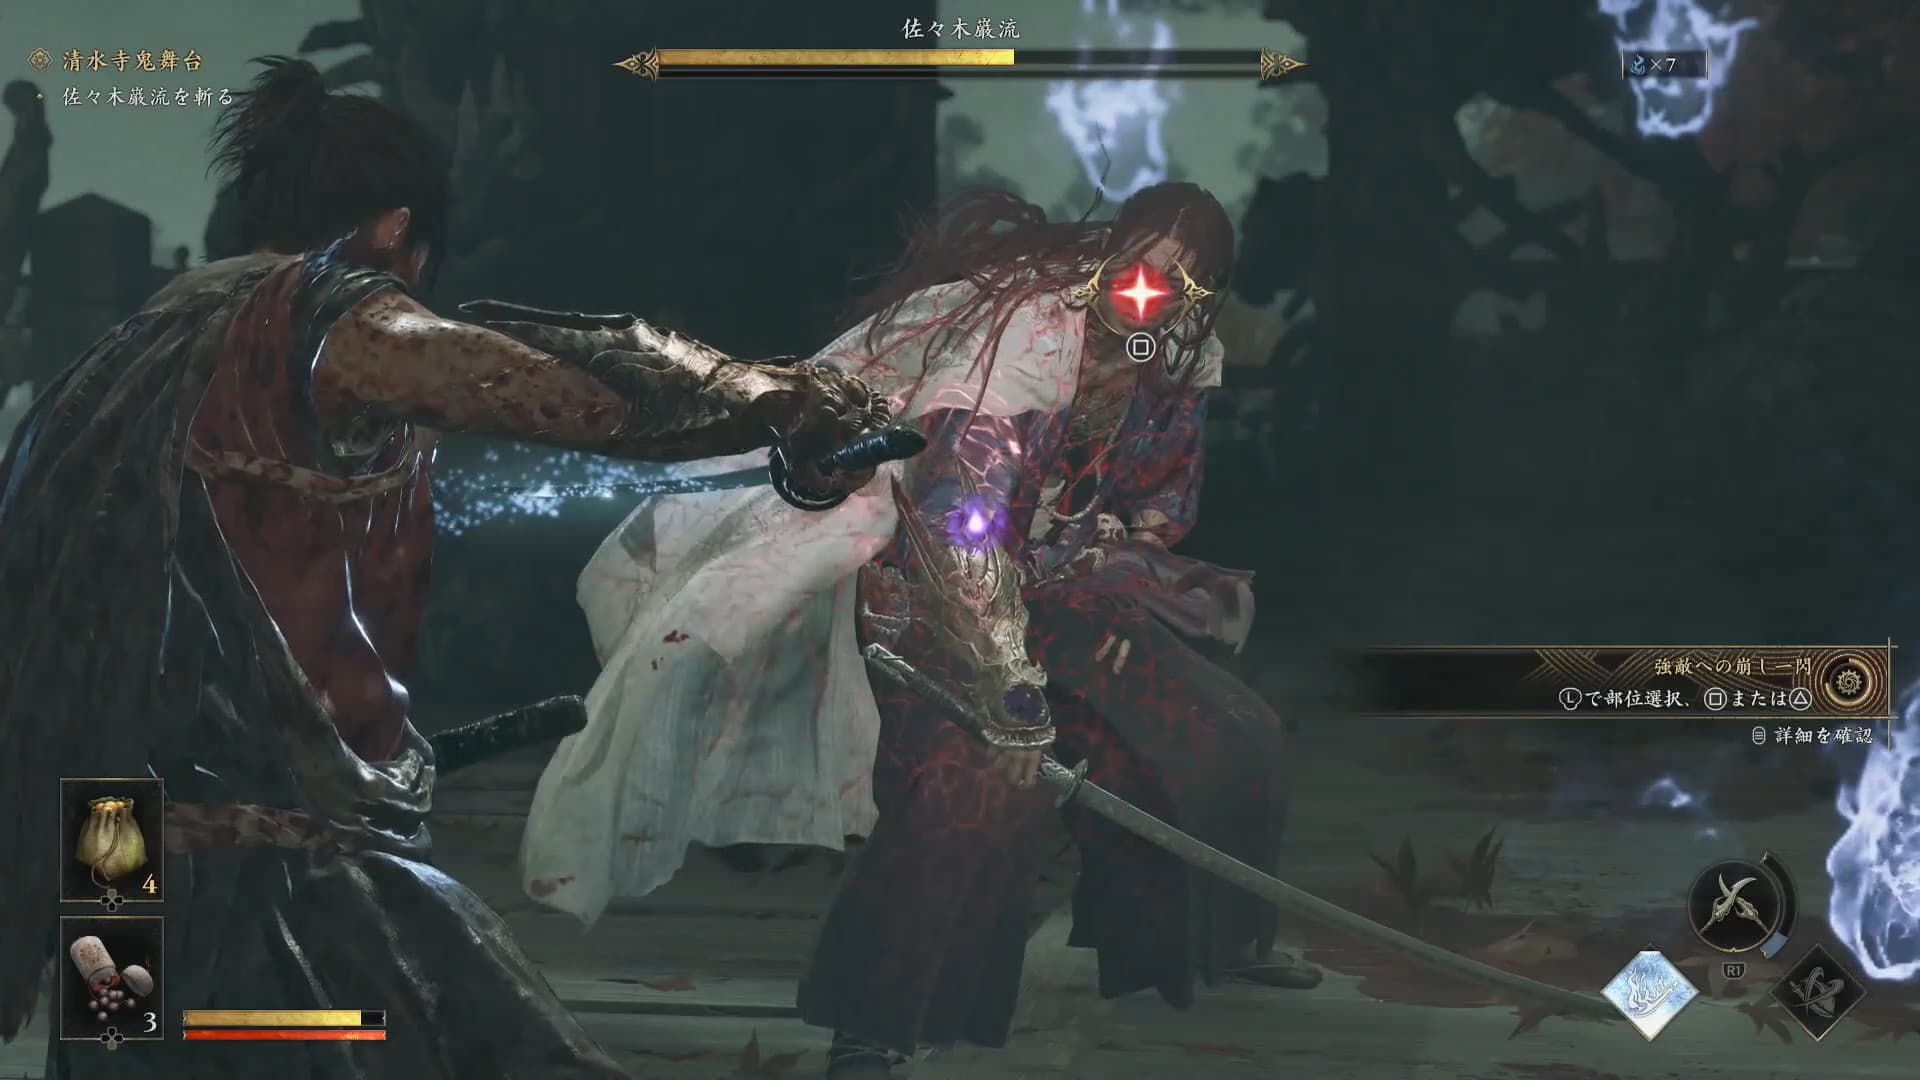
The official demo takes Musashi through Kiyomizu-dera and ends with Sasaki Ganryu. PlayStation's hands-on reports describe the duel as a place to use the skills learned through the stage, so approach it as a combat exam rather than a search for a hidden gimmick. The useful questions are whether you can recognize an incoming strike, choose the right defensive tool, read stamina, and convert a real opening into damage.
Do not judge the entire attempt by the first exchange. Ganryu is described as fast, and the Tokyo Game Show report specifically calls out axe kicks and spinning slashes. Those labels confirm recognizable threats, but they do not establish a complete move list or a guaranteed order. Use the first sight of a motion to gather information; use its next appearance to test a response you chose in advance.
The demo is approximately thirty minutes long, but that estimate is not a time limit for this fight. Replays and deliberate practice can make a session longer. Progress will not transfer to the full game, so the lasting value is familiarity with the combat language. Keeping the demo save still matters because the official notes connect it to the Kubi Akari charm reward after launch.
Enter with a simple control plan
On PS5, the official hands-on report maps light and heavy attacks to Square and Triangle, a timed Parry to L1, and Deflect to L1 plus X. Players on Xbox or PC should follow the inputs displayed by their installed demo instead of translating those buttons literally. Custom settings and platform layouts can change the physical input, while the tactical purpose of each action remains the same.
Choose three priorities before the duel: stay able to see Ganryu, defend one readable cue, and reassess after every successful response. A long memorized combo is not required to learn the encounter. Short offense followed by observation makes it easier to see whether he has recovered, whether his stamina changed, and whether a fresh attack has already begun.
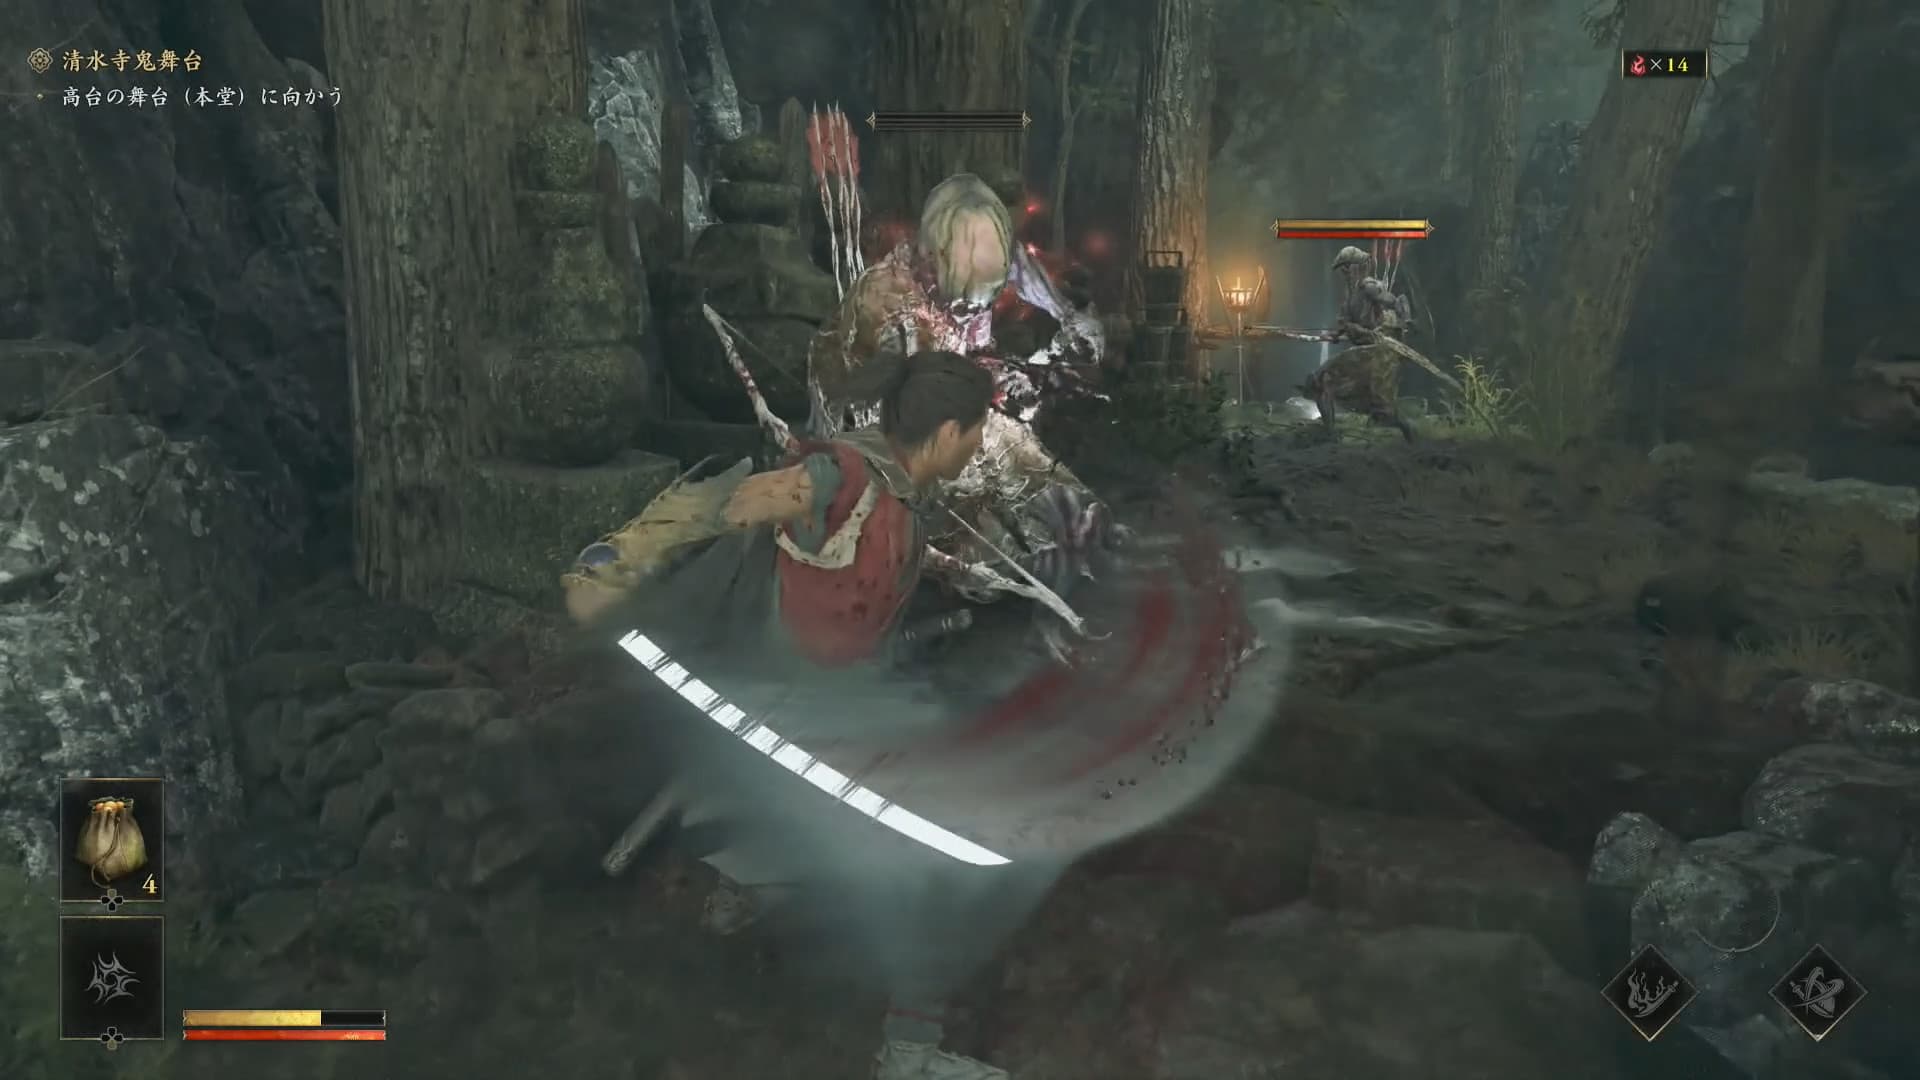
If the camera, distance, or unfamiliar input is causing the failure, solve that problem before chasing Issen. Use the early Kiyomizu-dera enemies to rehearse one Parry and one Deflect on purpose. Arriving at Ganryu able to name the intended response removes a layer of uncertainty, even though the boss's speed still demands a fresh read.
Read the confirmed attack cues
The verified hands-on description identifies Ganryu's axe kicks and spinning slashes, but it does not publish frame data, phase thresholds, or a fixed rotation. Watch the movement before contact and classify it in plain language: direct approach, kick motion, or spinning blade sequence. The name is less important than recognizing the same visual cue when it returns.
Against a motion you have not seen, guarding or creating space can be more informative than forcing a precision counter. Once you recognize the start and direction, select one answer for the next occurrence. If it fails, decide whether the cue was misread or the input was early or late. Changing only that one variable produces a clearer lesson than alternating among every technique.
Do not assume that one successful Parry makes the rest of a sequence harmless. Re-center on Ganryu after the clash and confirm that an opening is actually visible. The published previews support a fast duel built around defensive timing; they do not support a promise that every named animation has the same follow-up or recovery. Let the current screen, not an invented script, decide when to attack.
 Demo boss spoiler
Use Parry and Deflect for different jobs
Parry is the immediate answer when you can time an incoming strike and want a counter opportunity. The official hands-on report also says successful Parries enhance Musashi's sword, reinforcing the value of accurate defense. After success, make a controlled response and look again. The guide does not claim a universal follow-up string because the cited material does not publish one.
Deflect has a different objective: it depletes enemy stamina. The official preview explicitly recommends using it to lower Ganryu's stamina, so watch the relevant gauge rather than treating the visible clash as the entire reward. Repeated pressure can move the duel toward a broken state, but no verified source gives one fixed number of Deflects that works from every situation.
When stamina is exhausted, Issen Break becomes the important conversion. That is distinct from a standard Issen, which official descriptions frame as a precisely timed attack against an incoming blow. Use the break opportunity taught by the demo rather than guessing at its trigger. If the state is unclear, return to reading stamina and defending instead of pressing an unsupported shortcut.
Manage souls, Oni Armament, and executions
Musashi's Oni Gauntlet absorbs souls, and the demo connects those souls to Oni Armament. Absorb only when Ganryu is not actively forcing the exchange. A resource on screen can pull attention away from the next cue, so securing the moment first is safer than collecting automatically. This is a tactical habit based on the confirmed system, not a claim about an invisible immunity window.
Spend Oni Armament when both the resource and the opening are easy to read. The sources confirm the mechanic but do not provide a complete damage table, best-use threshold, or invulnerability guarantee. A deliberate use teaches more than triggering it during visual confusion, because you can see what changed and whether the action helped control the duel.
The official hands-on account also describes a choice during an execution: one target can favor direct damage while another can yield souls and health. Read the live prompt before deciding. If survival resources are the immediate problem, recovery has clear value; if the fight is stable, damage can shorten the remaining task. The preview supports the choice, not a universal answer for every run.
Use a disciplined retry loop
After a loss, write one sentence mentally: the cue you missed, the resource you chased, or the opening you assumed. Make the next attempt about that one issue. For example, spend an early exchange only identifying the spinning motion, or watch stamina after each successful Deflect. A focused retry turns failure into evidence and avoids the feeling that the entire fight is random.
A practical sequence is observe, defend, confirm, answer, and reset. Parry a cue you recognize; Deflect when stamina pressure is the objective; use Issen only when its precision risk is acceptable; and reserve Oni Armament for a visible opening. None of those decisions requires fabricated health percentages or phase names. They apply the roles stated in the official combat coverage to the fight shown in the demo.
If repeated attempts stop producing new information, return to the earlier Kiyomizu-dera section and practice one technique in isolation. Then replay Ganryu with that single goal before trying to combine everything. This guide will be updated if Capcom or the released game provides reproducible move data, but it will not turn promotional footage into fake timings, weaknesses, or guaranteed combos.
This page distinguishes verified facts from details that Capcom has not yet announced. Source checks are dated so launch information can be reviewed when official listings change.