Official footage
See the verified material
These official previews are included as visual context. Press play to load the privacy-enhanced player.
Know what the demo can teach you
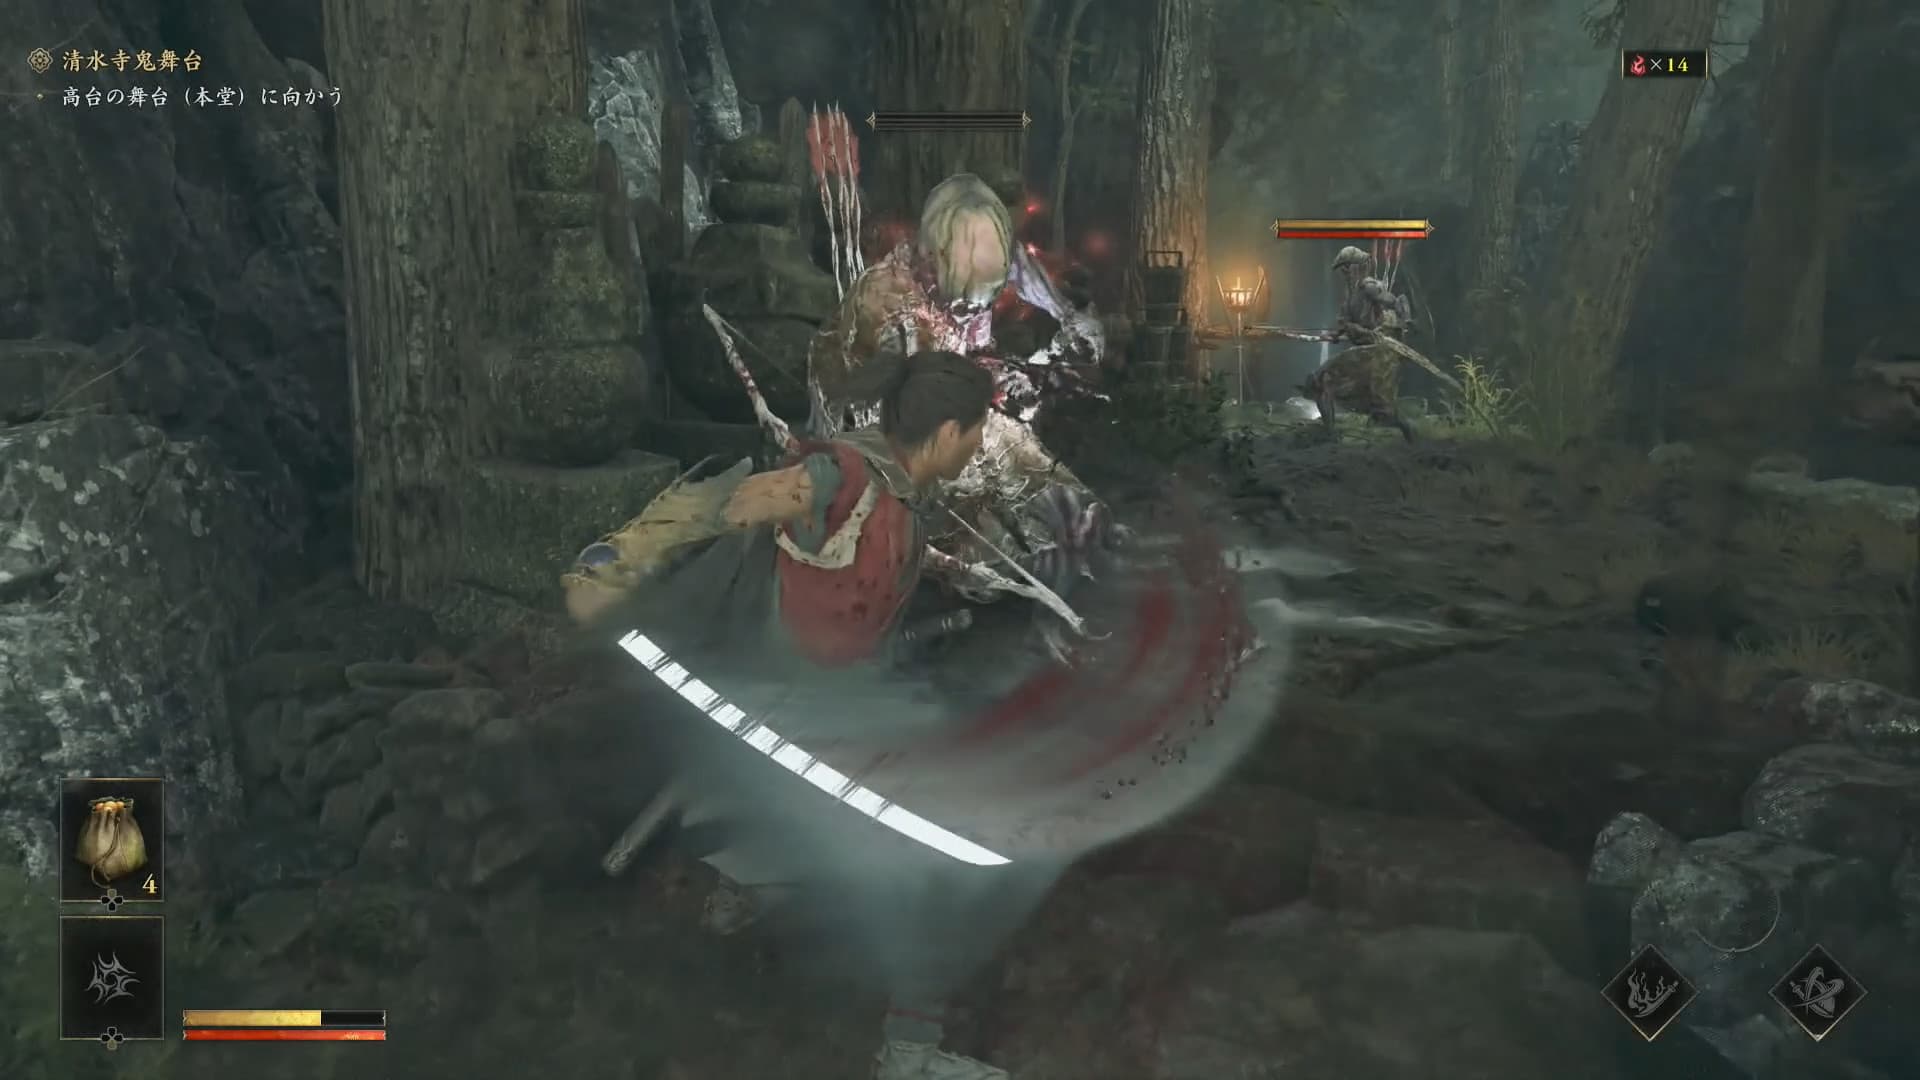
The demo contains about 30 minutes of the early story, so it is a focused introduction rather than a miniature version of the entire game. Its confirmed setting is Kiyomizu-dera, and its named opponent is Sasaki Ganryu. That narrow scope is useful for a new player because it provides a repeatable place to observe attacks, defense, stamina pressure, soul collection, and Oni Armament without requiring assumptions about later areas or systems that Capcom has not yet documented in the cited sources.
Treat the first run as orientation. Read the on-screen explanations, identify which enemy motions precede an attack, and notice what changes after a successful defensive response. Do not worry about inventing a final build, farming route, or launch-day progression plan from this slice. None of those can be established from a short pre-release demo. The honest beginner goal is simpler: leave Kiyomizu-dera able to name the core actions, recognize their different purposes, and reproduce them with growing consistency.
The approximately 30-minute description is not a time limit. Reading prompts, retrying an exchange, or deliberately practicing a technique can extend a useful learning run.
Build a simple defensive learning order
Parry, Deflect, and Issen are all verified parts of the combat system, but they should not be collapsed into one vague idea of perfect timing. Official hands-on material distinguishes their roles. Parry creates an opportunity to answer an attack. Deflect is tied to pressure on enemy stamina. Issen is a high-value counter that rewards precise timing. Issen Break is another named technique associated with exploiting an opening. The exact input should always come from the version and control prompts in front of you rather than from guessed button labels.
A practical learning order is to begin with survival and observation. First, use ordinary defense long enough to recognize an enemy's attack rhythm. Next, practice Parry on a single readable attack until you can tell a success from an ordinary block. Then use Deflect with attention on the enemy stamina display and the opening created by pressure. Attempt Issen only after the earlier timing is understandable. This order is coaching advice, not an official mandatory sequence, and it avoids asking a beginner to master every risk-heavy response at once.
When an attempt fails, change one variable. Decide whether you reacted early, late, or to the wrong cue instead of changing technique, spacing, and aggression together.
Connect stamina pressure to your offense
Sword attacks and defense work together. The verified combat material describes Deflect as a way to affect enemy stamina, while Issen Break takes advantage of an opening. For a beginner, the important lesson is that defending successfully is not merely a pause between attacks. A defensive success can change the state of the exchange and create a safer reason to move from observation into offense.
Watch the enemy rather than following a memorized attack count. After a successful response, confirm whether the opponent remains capable of immediately attacking, whether the stamina situation has changed, and whether a clear opening is present. If the state is uncertain, returning to a stable position is more useful than forcing a speculative combo. The cited sources establish the existence and purposes of these mechanics, but they do not support a universal combo, exact damage table, or frame-perfect timing chart, so this guide does not invent one.
Use the Sasaki Ganryu encounter as a test of recognition. Enter with one explicit objective, such as identifying a safe Parry opportunity or seeing how repeated Deflects affect pressure. If the attempt ends, retain the observation and revise only that objective. A boss retry becomes a controlled lesson instead of a measure of whether you are already an expert.
Absorb souls and use Oni Armament deliberately
The Oni Gauntlet and soul absorption are central verified ideas. Defeated Genma leave souls that Musashi can absorb, and official demo coverage connects those souls with supernatural combat power, including Oni Armament. This creates a simple beginner loop: defeat enemies, notice the available souls, absorb them when the situation allows, and make a conscious decision about when to use the resulting Oni option.
Do not let the visual spectacle make the resource invisible. During a calmer moment, check what the interface communicates before and after absorption. Then compare an encounter in which you hold the resource with one in which you use Oni Armament. The point is not to declare a mathematically optimal spend pattern from the demo; official sources cited here do not provide complete numerical efficiency data. The point is to understand that souls are an active combat resource rather than background decoration.
Resource awareness also improves defensive discipline. Chasing a soul at an unsafe moment can undermine an otherwise controlled exchange. Secure space, confirm the enemy state, and then absorb. This is general tactical advice derived from the verified mechanic, not a claim about hidden invulnerability or exact pickup timing.
Prepare for Sasaki Ganryu without fake spoilers
Sasaki Ganryu is the confirmed opponent at the end of the demo slice. The useful preparation is mechanical: arrive able to distinguish the defensive tools, understand that stamina pressure can lead to an opening, and recognize that absorbed souls can support an Oni response. This guide deliberately avoids an invented move list, phase count, weakness, or damage value. Those details require direct, current evidence and could vary from unsupported pre-release commentary.
On the first attempt, spend part of the fight observing. Look for an attack you can identify consistently and choose one response to test against it. On a later attempt, examine whether Deflect changes the stamina situation. Keep Issen attempts tied to a cue you actually recognize rather than pressing pre-emptively because the technique is powerful. If Oni Armament is available, use it at a moment you can observe clearly, so you learn what it changes instead of losing the lesson in a chaotic exchange.
Success in this demo encounter is useful, but the transferable result is a readable process: observe, choose, act, and evaluate. That process remains valuable when later enemies differ from Ganryu, whereas a rigid sequence derived from one short slice may not.
Keep the save and separate reward from progress
Demo story progress does not carry into the full game. That means players should expect to begin the released adventure through its intended opening rather than resume at the end of the Kiyomizu-dera slice. However, the official demo information confirms a separate benefit: keeping demo save data unlocks the Kubi Akari charm in the full game. Progress transfer and save recognition are therefore two different ideas.
Do not delete the save merely because the playable progress will not transfer. Keep it on the platform account and storage context where you expect the full game to recognize it, and follow any platform instructions shown at launch. The cited sources confirm the reward but do not justify promises about cross-platform transfer, cross-account recognition, cloud-save behavior, or a universal troubleshooting procedure. Those details should be checked against current platform guidance if an issue appears.
After finishing, write down the one technique that still feels unclear and replay with that single focus. A second run devoted to Deflect pressure or Issen timing is more valuable than pretending the demo has revealed the entire launch game. This creates an honest first-hour foundation without turning limited official evidence into a false complete walkthrough.
This page distinguishes verified facts from details that Capcom has not yet announced. Source checks are dated so launch information can be reviewed when official listings change.